How to Open a Py File in Jupyter
How to Launch Jupyter Notebook Quickly
Speed up your workflow with File Explorer & PowerShell aliases
![]()

Jupyter Notebook is a great tool for data science but can be pretty slow if you constantly need to navigate through multiple directories before launching a notebook file, or if you're using a clunky GUI like Anaconda Navigator to get to your files.
Today, I'll be covering how to use Windows File Explorer, Command Prompt and PowerShell via Windows Terminal to quickly navigate to your directory of choice and launch Jupyter Notebook. (If you're using MacOS, you can look into setting up an automator script or bash alias).
Here are two ways that you can drastically cut down on time wasted navigating through folders and files.
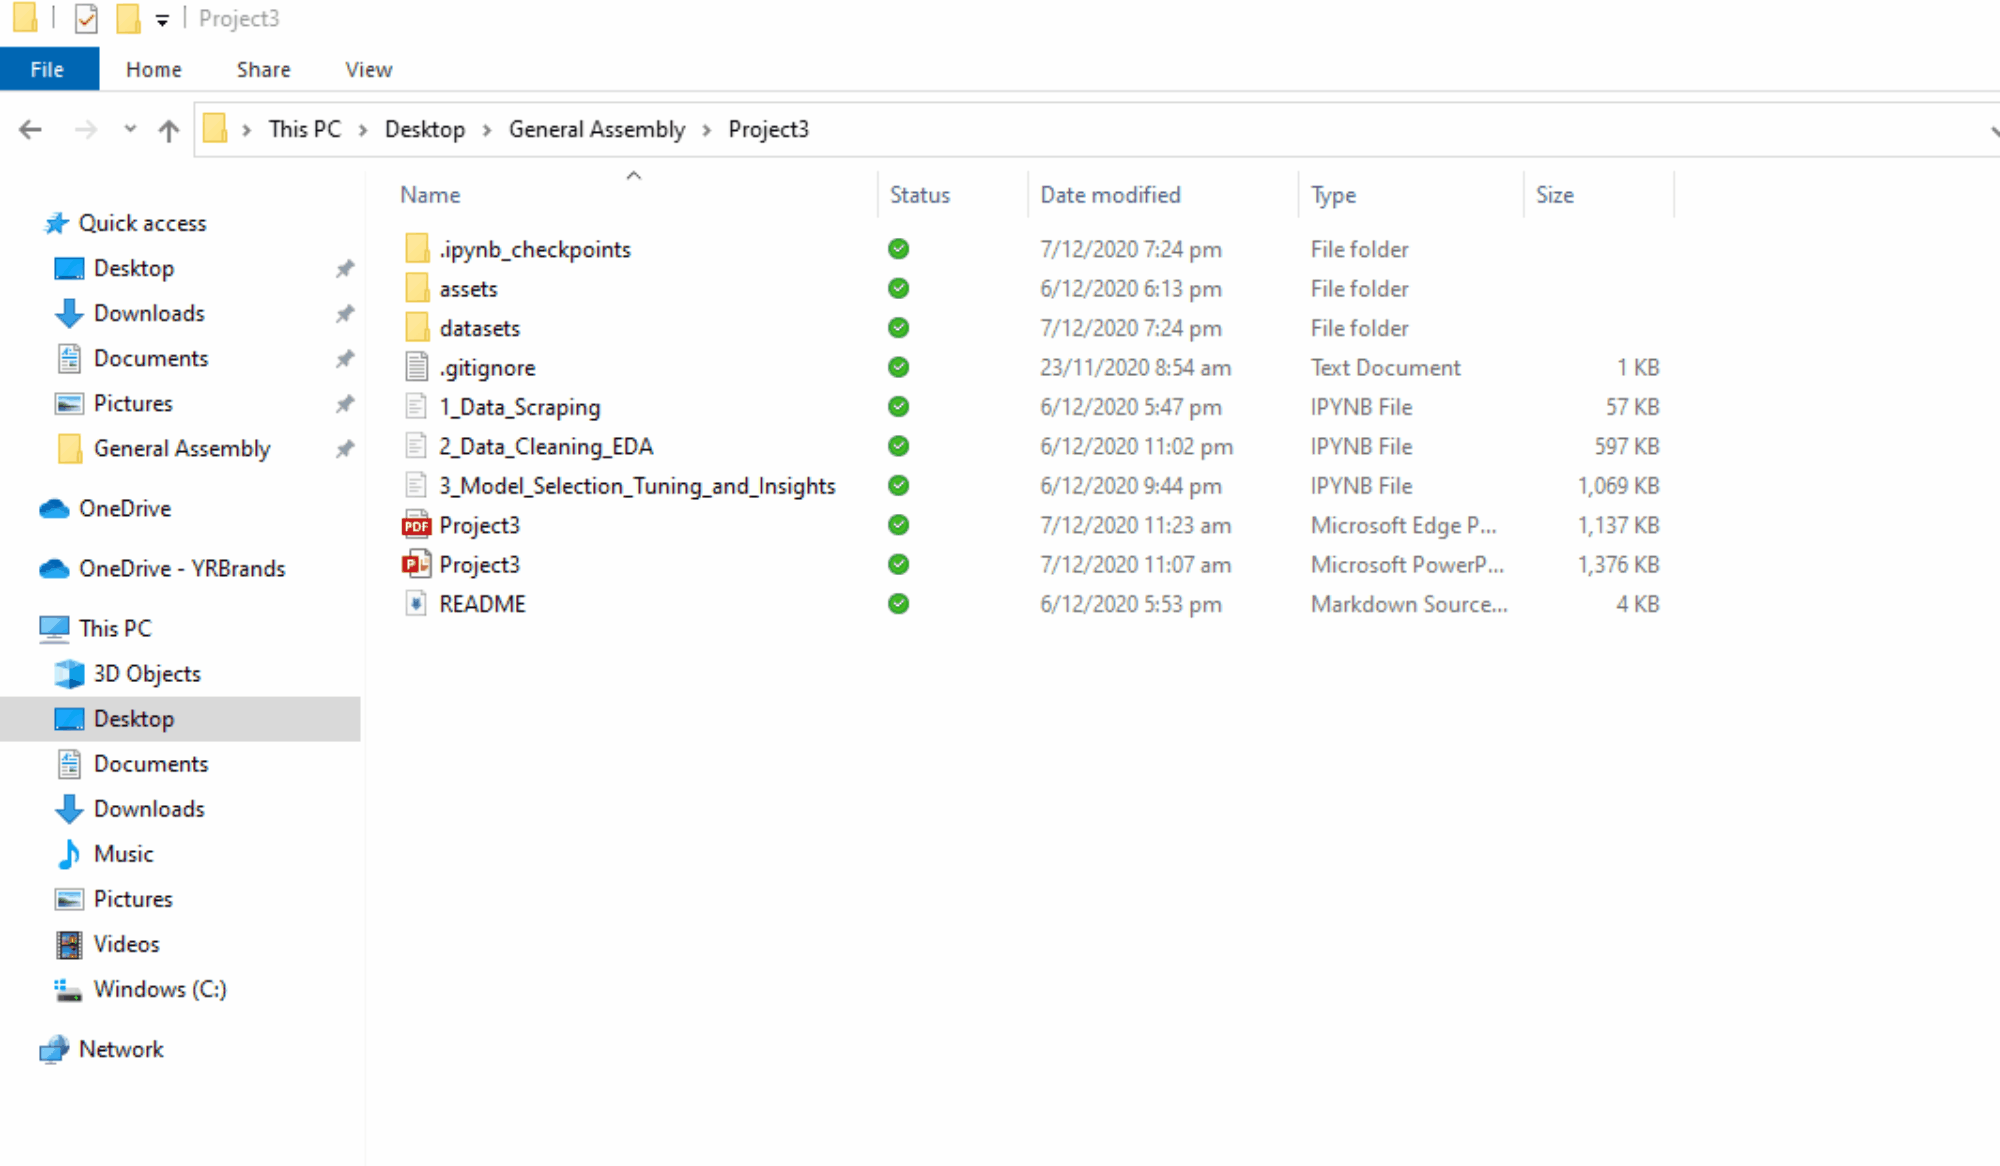
1. Windows File Explorer + Command Prompt
Whenever you open a Windows Explorer folder, you'll see an address bar similar to that in a web browser. By default, it shows the path of the current folder. In this address bar, you can enter in text and navigate to other directories manually.
Once you've entered your specific folder with Windows Explorer, you can simply press ALT + D, type in cmd and press Enter. You can then type jupyter notebook to launch Jupyter Notebook within that specific folder.
NOTE: If you're using Anaconda, you may have to type activate conda to switch to Anaconda Prompt within Command Prompt. Additionally, if you receive an error involving zqm.h, you'll need to add the following folders to your PATH environment variable:
- C:\Users\***\Anaconda3\Lib\site-packages\zmq
- C:\Users\***\Anaconda3\Library\bin
2. Windows Terminal + PowerShell Aliases
This method is slightly more complicated but is much faster and much more versatile. In this section, I'll explain how to use Windows Terminal to access PowerShell and set up custom aliases.
Let me unpack that last sentence a bit:
- Windows Terminal is basically a modern terminal application that allows us to use command-line tools and shells like Command Prompt. Some key features include multiple tabs, panes, Unicode and UTF-8 character support, a GPU accelerated text rendering engine, and the ability to customize text, colors, backgrounds, and shortcuts. A guide to set this up with Anaconda Prompt can be found here.
- PowerShell is a command-line tool like Command Prompt, except that it gives us the ability to do in-depth system management among several other handy abilities.
- An alias is basically a console command shortcut. For example, instead of typing out
Set-Locationin PowerShell, you can typecdorchdirto change directories quickly.
PowerShell allows you to create custom aliases, which is what we'll do here. With a custom alias, you can launch Jupyter Notebook by simply typing jn instead of jupyter notebook. You can also navigate to directories with this. For example, I can type cdp3 instead of something like cd C:\Users\***\OneDrive\Desktop\General Assembly\Project3.

To set this up, you'll first need to install Windows Terminal. This step is optional, but I prefer using Windows Terminal over stand-alone PowerShell due to the functionality that it offers (Windows Terminal is also much better looking). A guide to set this up with Anaconda Prompt can be found here.
Next, you'll want to create a PowerShell profile. This is where we'll be storing our shortcut commands, which are more formally known as 'aliases'. To create a profile, launch PowerShell and enter the following command: New-Item -Type File -Force $PROFILE. This will create a profile within your UserProfile\Documents folder. You can check the path of your profile by typing $PROFILE in PowerShell.
You can then open this file with PowerShell by typing ise $PROFILE or by manually opening this file with your preferred code editor.
You'll first want to create a shortcut to your most frequently used directory such as:
          function Get-GeneralAssemblyProjects
{ & cd '~\OneDrive\Desktop\General Assembly\Project3' }
New-Alias -Name cdp3 -Value Get-GeneralAssemblyProjects
From there, you'll want to add something like the following to your PowerShell profile:
          function Start-JupyterNotebook { & $ENV:UserProfile\Anaconda3\python.exe $ENV:UserProfile\Anaconda3\cwp.py
$ENV:UserProfile\Anaconda3 $ENV:UserProfile\Anaconda3\python.exe
$ENV:UserProfile\Anaconda3\Scripts\jupyter-notebook-script.py $pwd}
New-Alias -Name jn -Value Start-JupyterNotebook
This will allow you to start Jupyter Notebook by typing jn. You can change this alias to anything else, like >j and so on.
To launch Windows Terminal, you can use Win + R and type wt.
There are tons more you can do with aliases, such as setting custom Git commands like the following:
          function Get-GitStatus { & git status $args }
New-Alias -Name gs -Value Get-GitStatus
The possibilities are pretty endless with aliases.
Hope this helps you out!
How to Open a Py File in Jupyter
Source: https://towardsdatascience.com/how-to-launch-jupyter-notebook-quickly-26e500ad4560
0 Response to "How to Open a Py File in Jupyter"
Post a Comment